


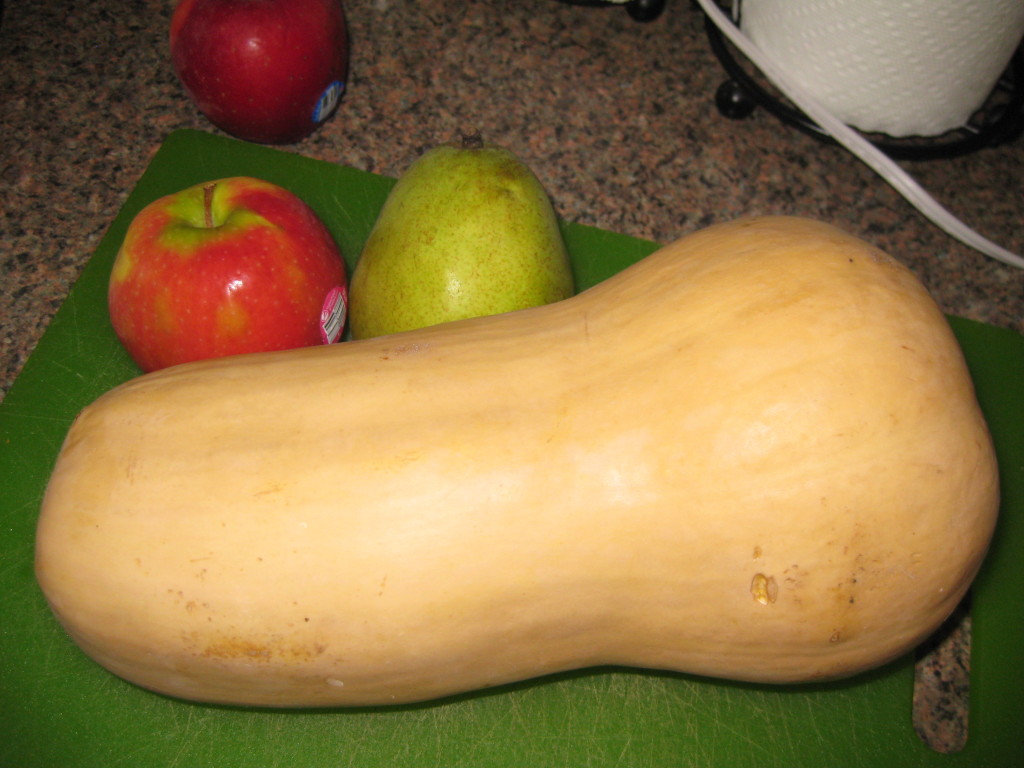
I’m not a hippie or “earth mom” by any means. But I am a bit food-obsessed and I do care about the environment. When I was pregnant with Lucy, I wanted to do at least one major “green” thing. Cloth-diapering would have been extremely impractical; it hadn’t caught on in Reno like it has in Austin. I decided a decent trade-off would be to make my own baby food. I got a Beaba Babycook as a shower gift and it was super-easy to use. I believe in paying-it-forward and was happy to pass it on to a friend once Lucy was eating solid food regularly. But it was great experience all-around and very cost-effective. A large Butternut Squash cost less than $3 and it made 18 portions of food.


Some Lucy-endorsed food combos were: Spinach-Blueberry-Banana, Strawberry-Apple, Apricot-Squash-Pear, Banana-Avocado-Carrot
You’ll find that you don’t have to steam soft fruits like bananas, berries or avocado.
So here you go, step-by-step, how to make your own pureed fruits and veggies!
What you will need:
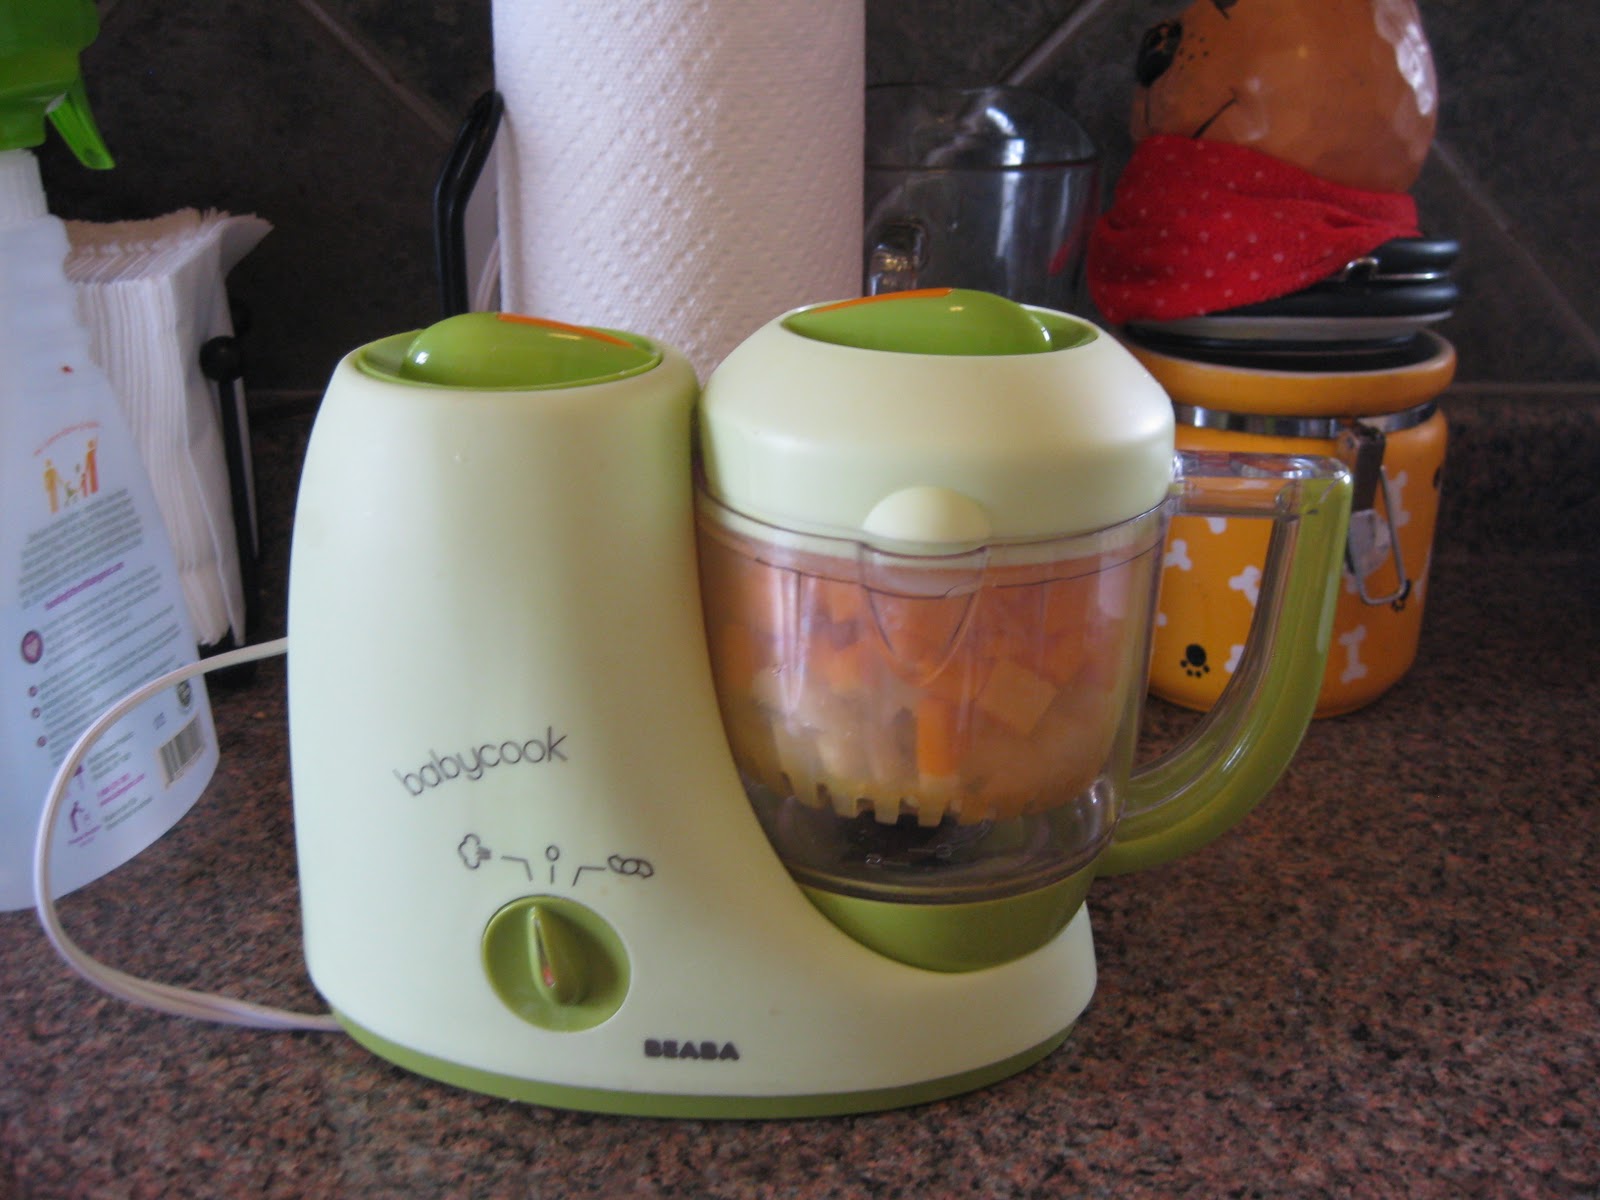
A Beaba Babycook or some other way to steam and puree your food. (A Beaba is pretty spendy but if you weigh the pros and cons of what jarred baby food costs, it ends up being way more cost-effective. Just like cloth-diapering can be)
Vegetable Peeler
Apple Slicer
Knives or A Chopper
An adorable baby nearby watching your every move
On this particular day, I made Apple-Pear-Butternut Squash
Step 1: Peel and Chop
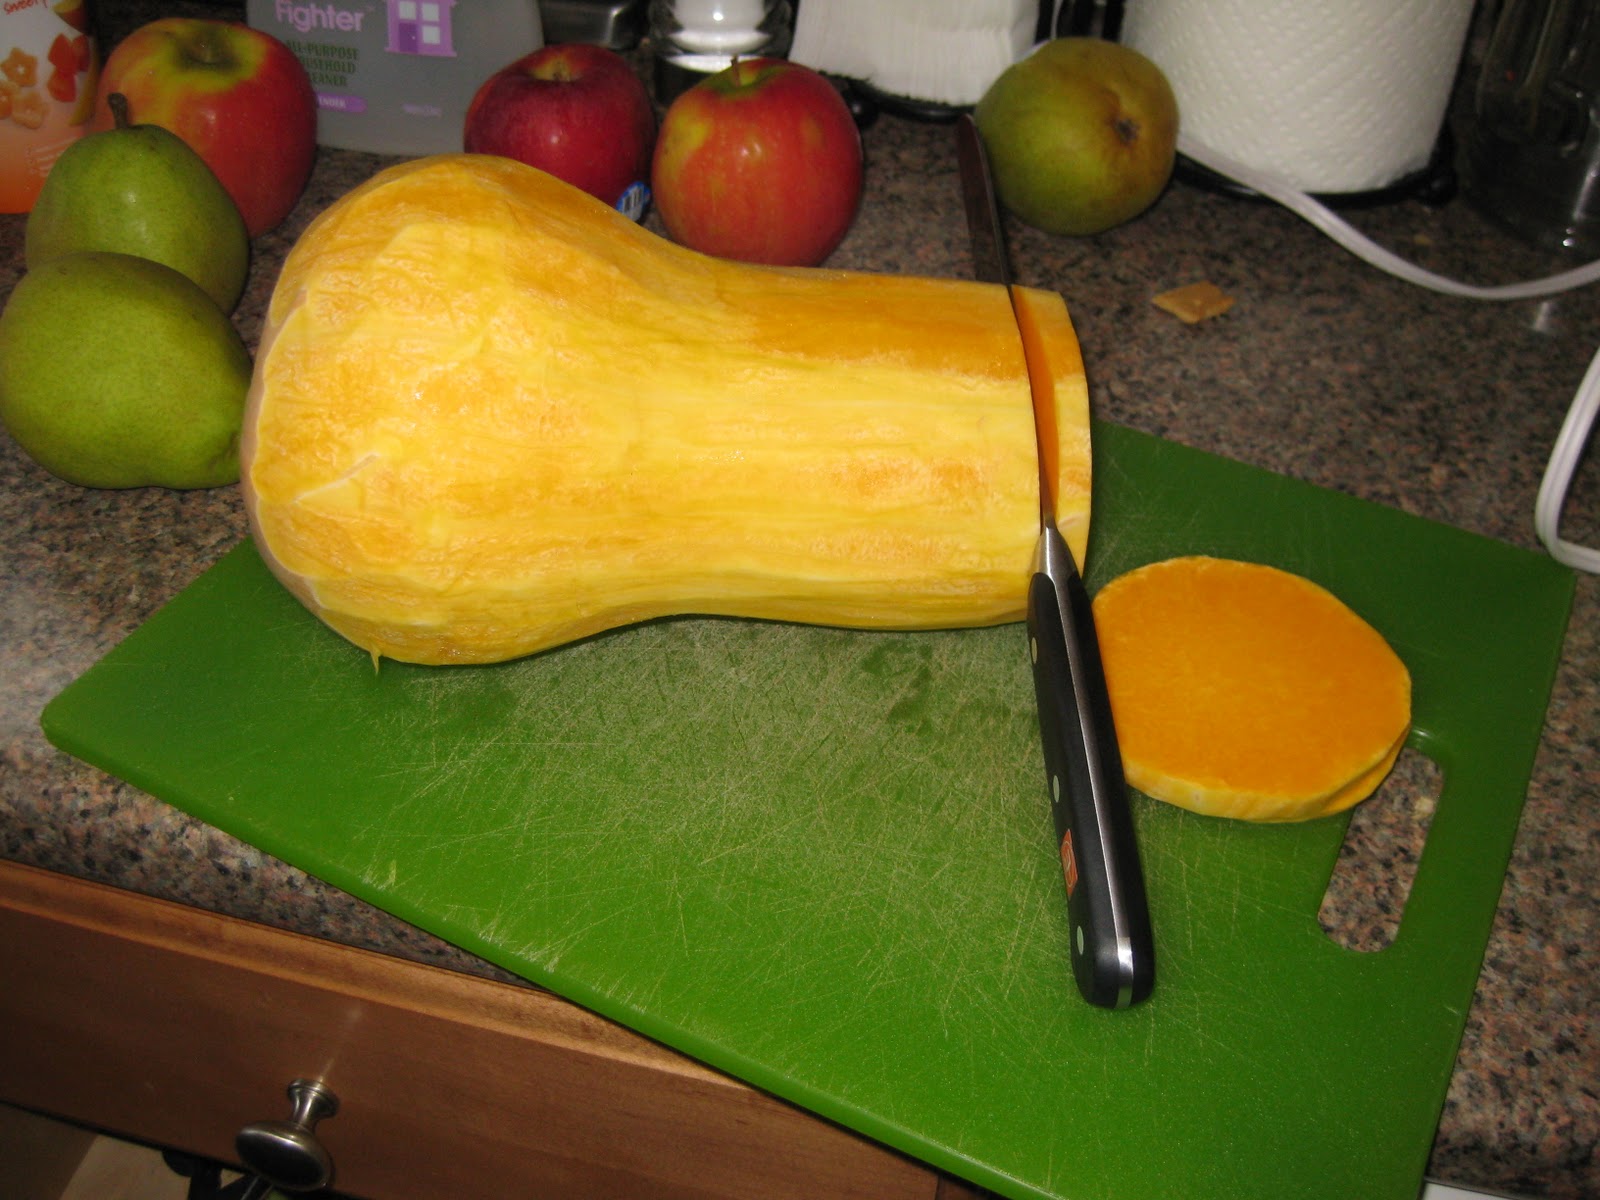

You want the pieces small but not quite diced-size.
Step 2: Steam
Follow the Beaba instructions for steaming. It takes about 15 minutes.
While waiting for the veggies to steam, why not play with your little sidekick? Never underestimate how much fun utensils can be!

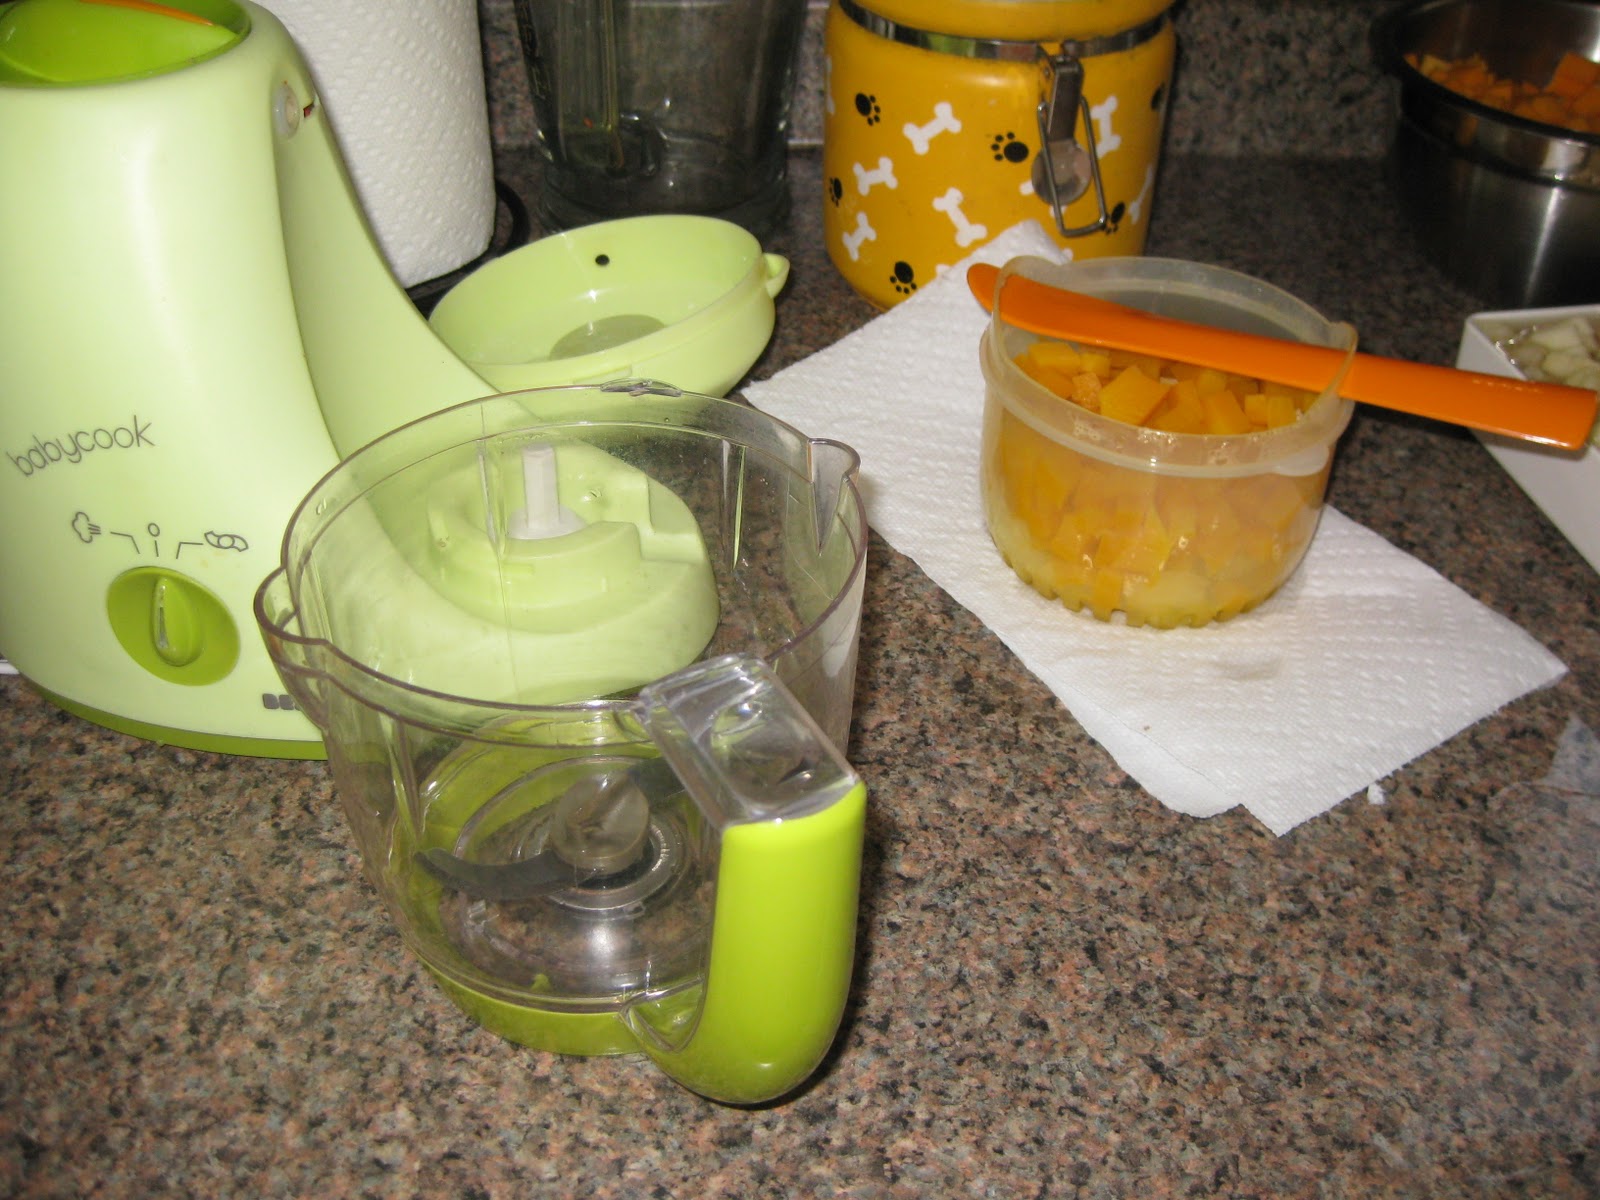
Step 3: Drain
Reserve some of the cooking “juice” to help your puree become smoother.
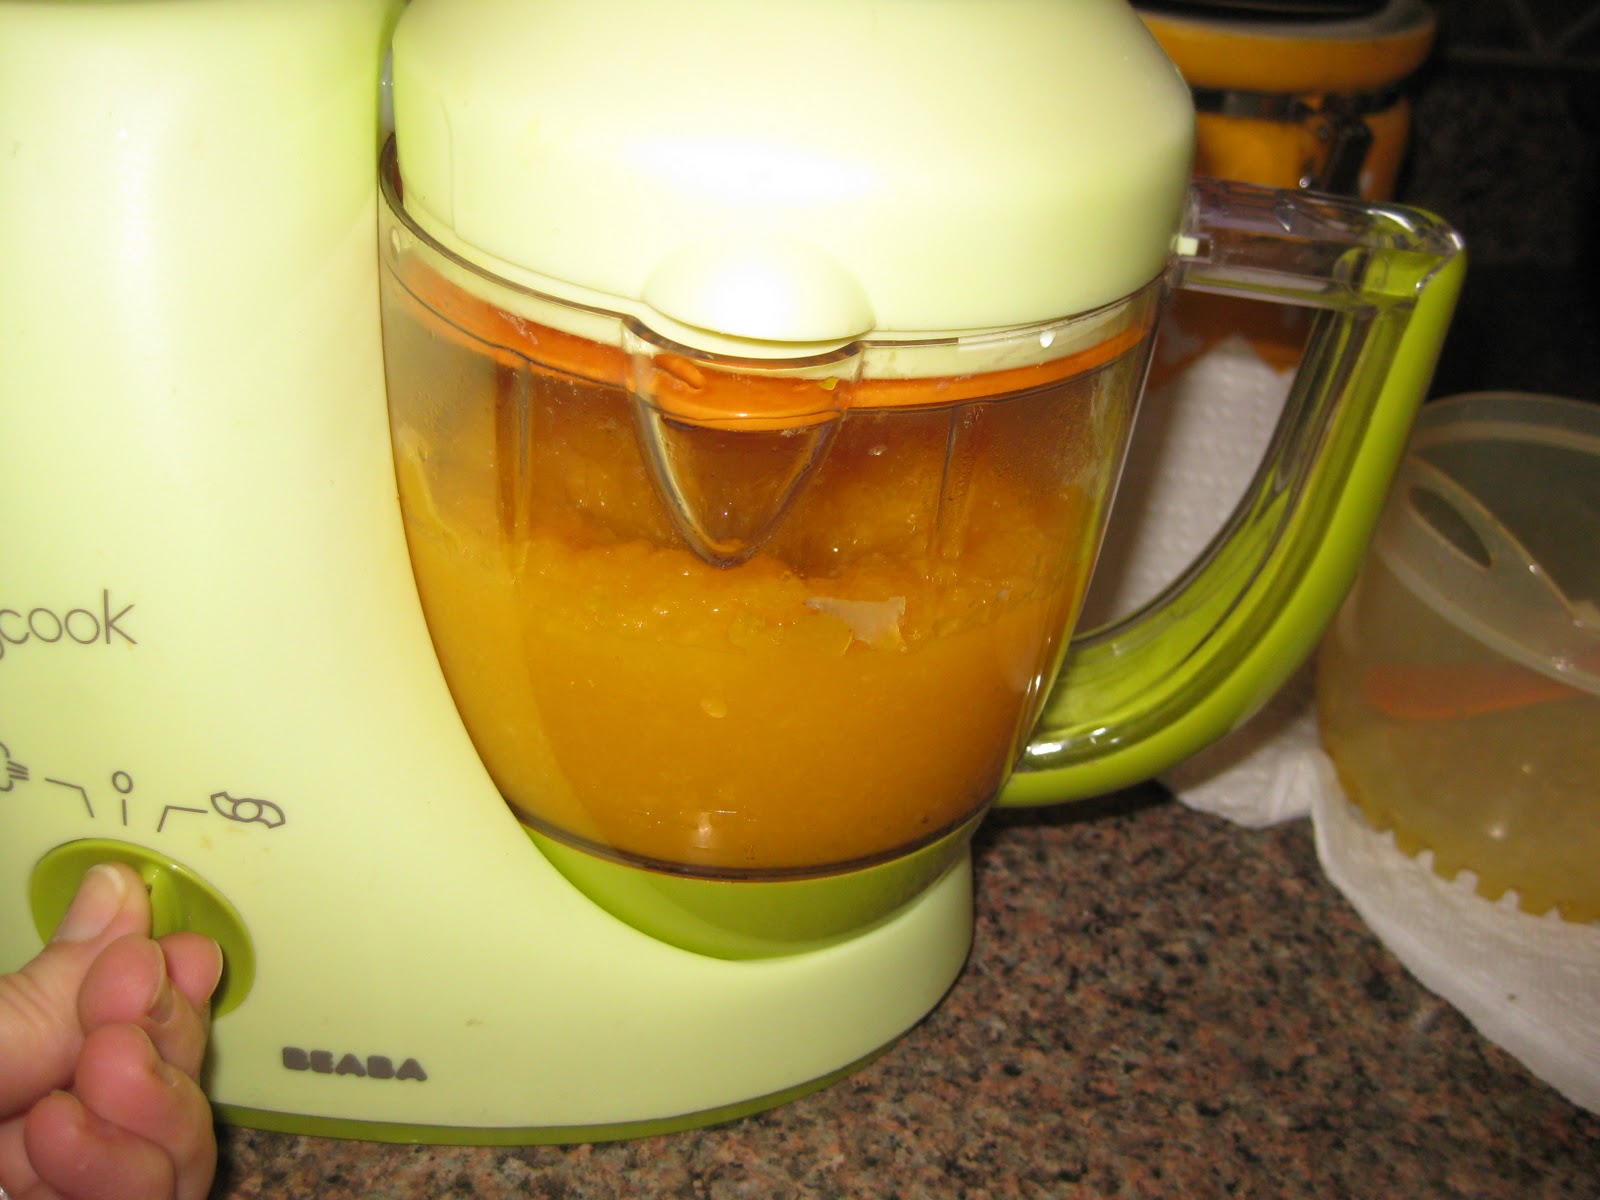
Step 4: Puree until smooth. If your baby has some teeth, you can leave it a bit chunkier.
Step 5: Pour into trays and freeze.

The Beaba trays make the perfect size for a single portion. Or you can just use ice cube trays.
Step 6: Thaw and enjoy!
60 seconds in the microwave should be just perfect.


