


These warm days we’ve been having are giving me a split personality. On the one hand, I feel like a lizard – lifting my face to the sun and soaking in all of the gloriousness. On the other hand, the Mom in me is reminded that the looooooong days of summer are coming, when it feels like we’ve already done everything twice and the kids are still bored.
RELATED READING :: Crafts with the Kids


This summer I’m hoping to have a few extra tricks up my sleeve for when it’s too hot to go out, but staring at the walls indoors leads to inevitable sibling bickering. Mason jar crafts are the perfect easy projects that are fun for everyone and that leave you with a shared sense of accomplishment in the end. Here are a few fun ones to try when the hot or rainy weather hits, or even when you’re just feeling inspired to create:
- Rainforest in a Jar
Using hot glue, glue the insert and rim of the lid together. Next, glue Styrofoam or something similar to the inside of the lid to make the decorations more visible. Have your child place moss, fake succulents, rocks, and animal figurines where he or she wants, then glue them down. Next, place the jar over your lid, screw it on, and enjoy your trip to the rainforest!
- Aquarium in a Jar
Use hot glue to seal the insert and rim of the lid if your child will want to shake the aquarium. Add small aquarium rocks, fake plants, and plastic sea creatures to the bottom of your jar, gluing the rocks and plants down if desired. Next, fill the jar with distilled water and add a few drops of blue food coloring. Screw the lid shut – you can also glue it on at this point – and swirl the jar gently to see your sea creatures swim!

- Succulent Planter
Place a layer of pea gravel in the jar for drainage, filling the jar up to the “Mason” lettering. Next, add sea glass to just over the “Ball.” You can use several different colors to create attractive layers of sea glass. Now, add potting soil to just under the rim and add your succulent, giving it a small drink of water to finish your planter project.
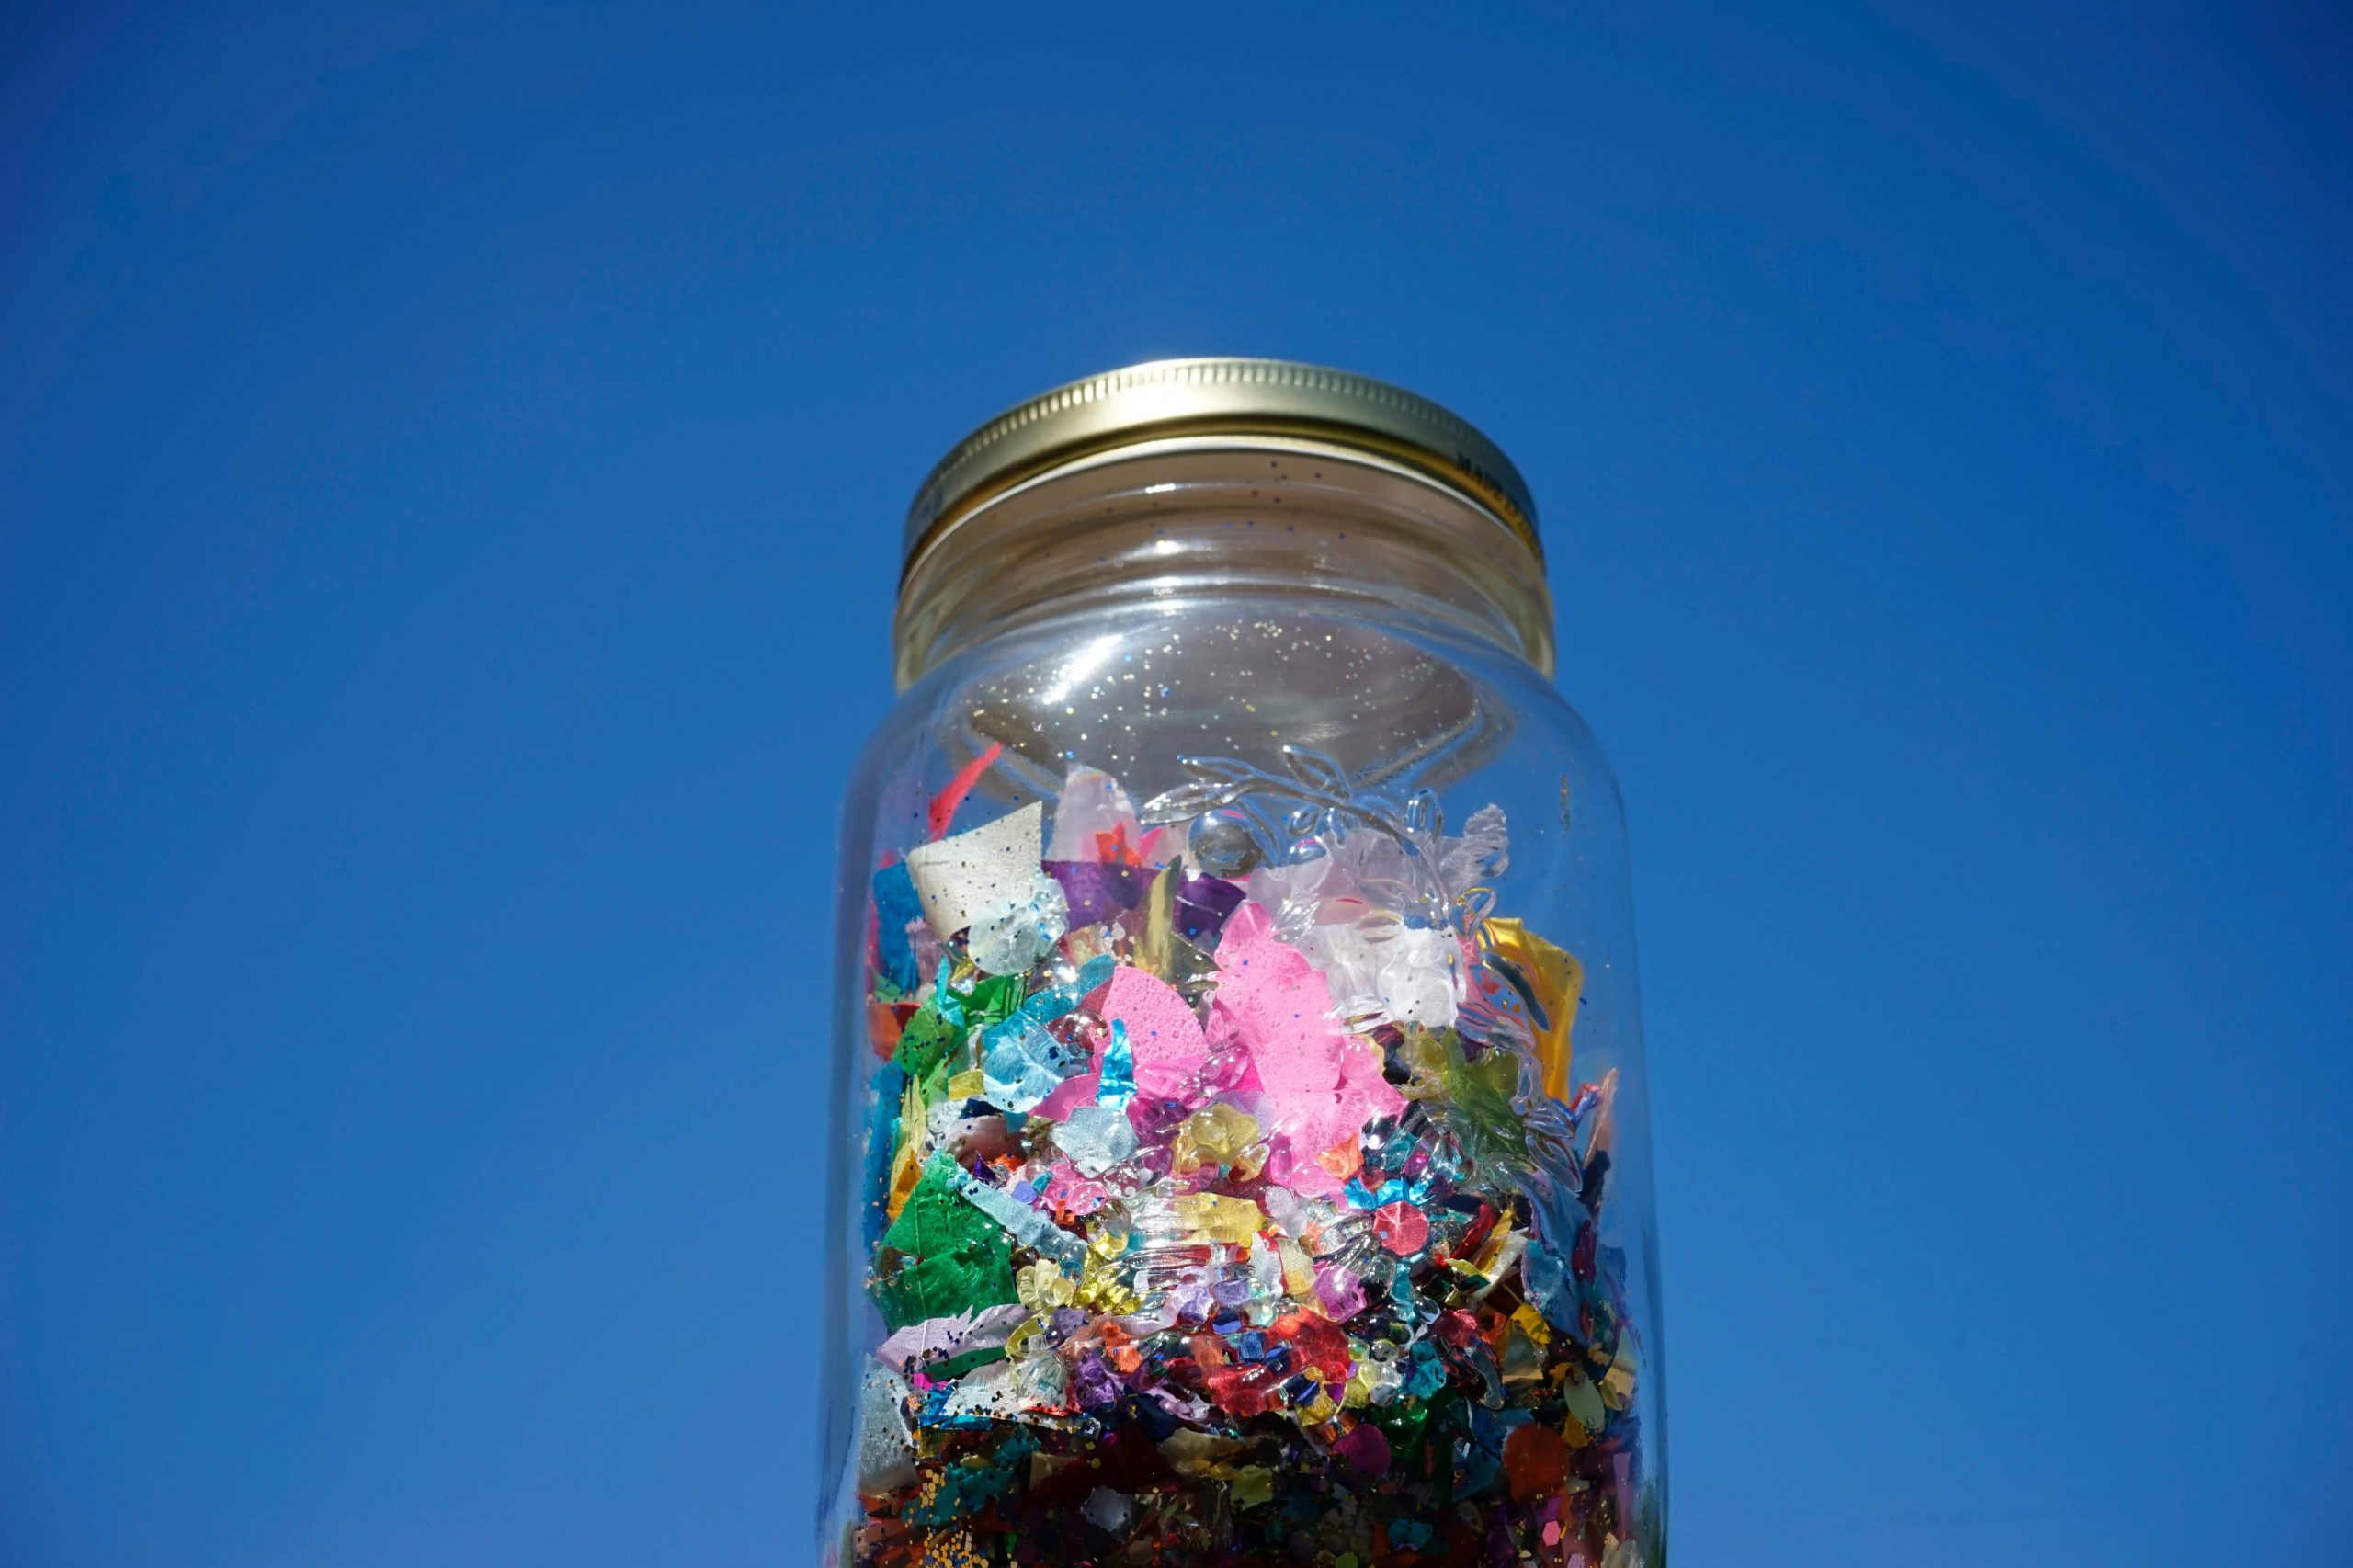
- Sensory Glitter Jar
Pour 1/2 cup of distilled water into the jar then add 1/2 cup of glitter glue or clear glue. Next, add 1-2 teaspoons of additional glitter and fill the rest of the jar with distilled water. Pipe a ring of hot glue around the mouth of the jar and place the lid insert on the jar, pressing it firmly into the glue. Finally, secure your jar with the metal ring. Shake it vigorously and let it rest overnight.
- Snow Globe
This is an old-school project that is just as fun as it was “back in our day.” Hot glue the jar ring and insert together, ideally selecting an insert that has a rubber seal or gasket. Next, hot glue a miniature figurine to the lid of the jar. Pour an entire bottle of Elmer’s clear glue into the jar and add as much glitter as desired. Fill the rest of the jar with distilled water and glue the lid onto your new snow globe.

- Mason Jar Bank
Allow your child to decorate the jar with acrylic paints, spraying it with a matte-finish clear-coat sealant after 24 hours if desired. Using metal snips, cut a slot for coins and dollar bills in the lid of the jar. Place masking or duct tape around the edges of your cuts to ensure there are no sharp edges. Now your child can save those pennies for a rainy day!
- Flower Vase
Using acrylic paints, have your child decorate the outside of the jar according to his or her imagination. Once dry for 24 hours, spray the jar with a matte-finish clear-coat sealant from the craft store if desired. Fill the jar with wildflowers from a nature walk.
- DIY Air Freshener
Fill the Mason jar with 1 cup baking soda. Next, add 30-40 drops of essential oils to make your very own, non-toxic air freshener that can be refreshed with additional oils whenever necessary.
- No Bake S’mores
These amounts are for a 16-ounce jar, but you can use any size jar and adjust accordingly. Heat 1/2 cup heavy whipping cream over medium-high heat until it bubbles. Next add 1/2 chocolate chips, turn the heat to low, and whisk quickly until the chips have melted. Allow the ganache to cool and thicken. In the jar put 1/2 cup graham cracker crumbs, followed by 1/2 cup marshmallow cream or fluff – spreading as best as possible. Follow this with your chocolate ganache and top everything with 1/2 cup of mini marshmallows and a sprinkle of chocolate chips. Grab a spoon and dig in!
- Chunky Monkey Overnight Oats
This recipe makes 2 jars. Mash one banana with a fork and add half to each jar. Next add 1/2 cup of rolled oats, 2 teaspoons of chia seeds, 1 small pinch of salt, 1 tablespoon of maple syrup, 1 – 2 tablespoons of chocolate chips, and 3/4 cup milk to each jar. Stir well and secure with lid. Place in the fridge overnight, or for at least 6 hours. Eat directly from the jar or remove and warm gently if desired.

")
