In a perfect world, I would take the trip with my family. I would plan something extravagant with the kids or I would lounge in a day spa in my snuggly white robe to feel the worries of the world drift away. Truth is, I’m exhausted. Nothing sounds better than a day spent at home with my kiddos and husband to celebrate Mother’s Day–with a Mother’s Day DIY.
RELATED READING :: Summer Crafting
As the caretaker of the household and the keeper of the laundry, we all deserve a day that not only recognizes our amazing juggling skills but it’s a great opportunity to reminisce on our journey through motherhood. For those that are expecting, an opportunity to bask in the joy of a new chapter. We all celebrate this differently, but for those mamas who plan to spend the day at home, here are a couple of cute DIY’s to craft with your kids (or save this project for later!)
DIY Mama Keychains
This turned out so cute and my 4-year-old daughter loved using her creativity to craft these for her grandmas based on their favorite colors and personalities!
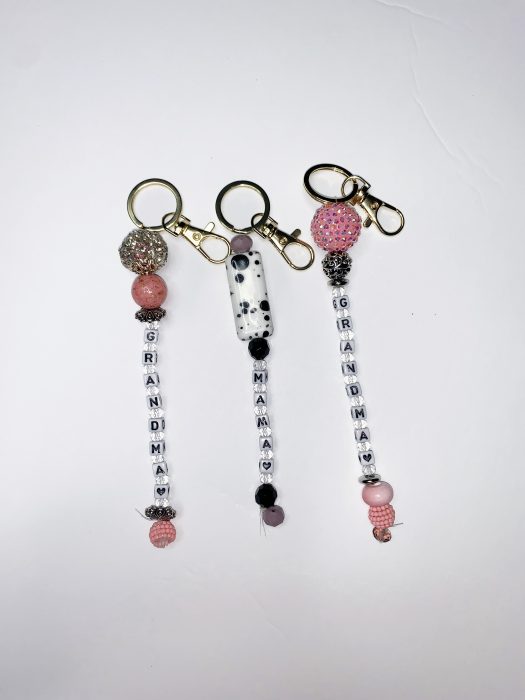
Supplies you will need:
- 54mm key rings
- Assorted beads
- Fishing line or elastic cord
- Letter beads
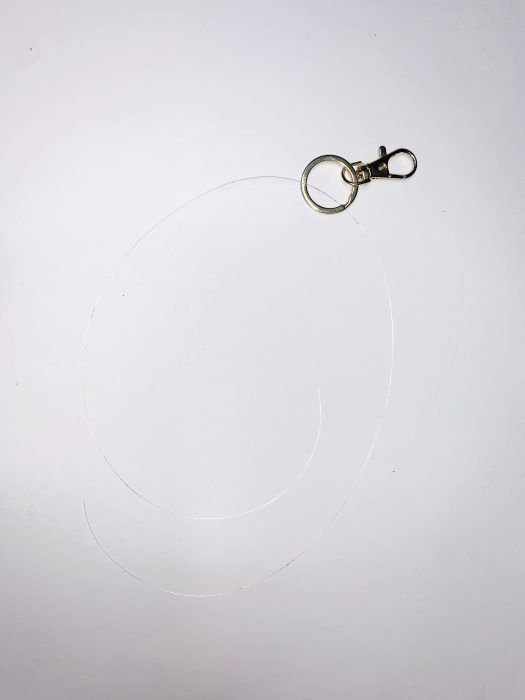
When we first began this product I actually used leather cord but shortly realized that the beads we chose were too small to string on this thick of string. We did switch to fishing line and it worked out great.
First, we put the string through the keyring versus tying it onto the keyring for more support.
I did layout the word “grandma” for her and she used her imagination when it came to the order of the other beads. I was able to find these beads at Walmart and Joann’s Crafts!
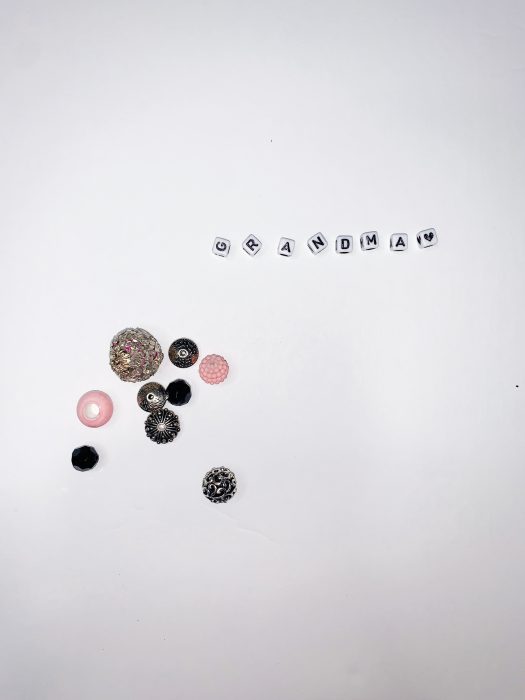
For the last bead, I did tie the string all the way around the bead to avoid slippage in the knot in the future!
DIY Clay Pottery
This craft was a blast and my daughter asks to mold clay every day since! The options of what to make are endless, but this one is for you plant mamas.
Supplies you will need:
- Oven bake polymer clay
- Acrylic paint
- Baking sheet
This one does get messy so I suggest setting up on a metal surface or I used a sheet of foam board. The clay sticks to anything and everything!
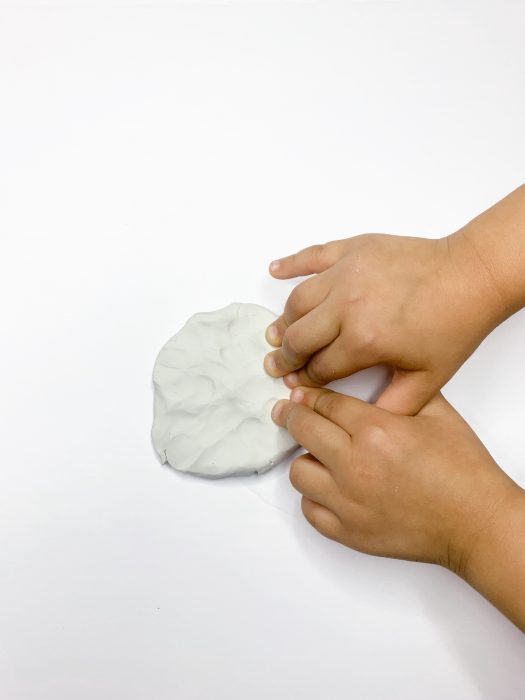
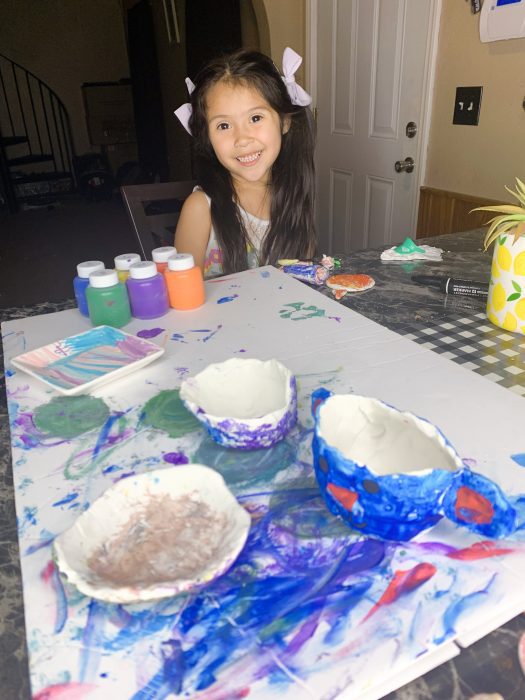
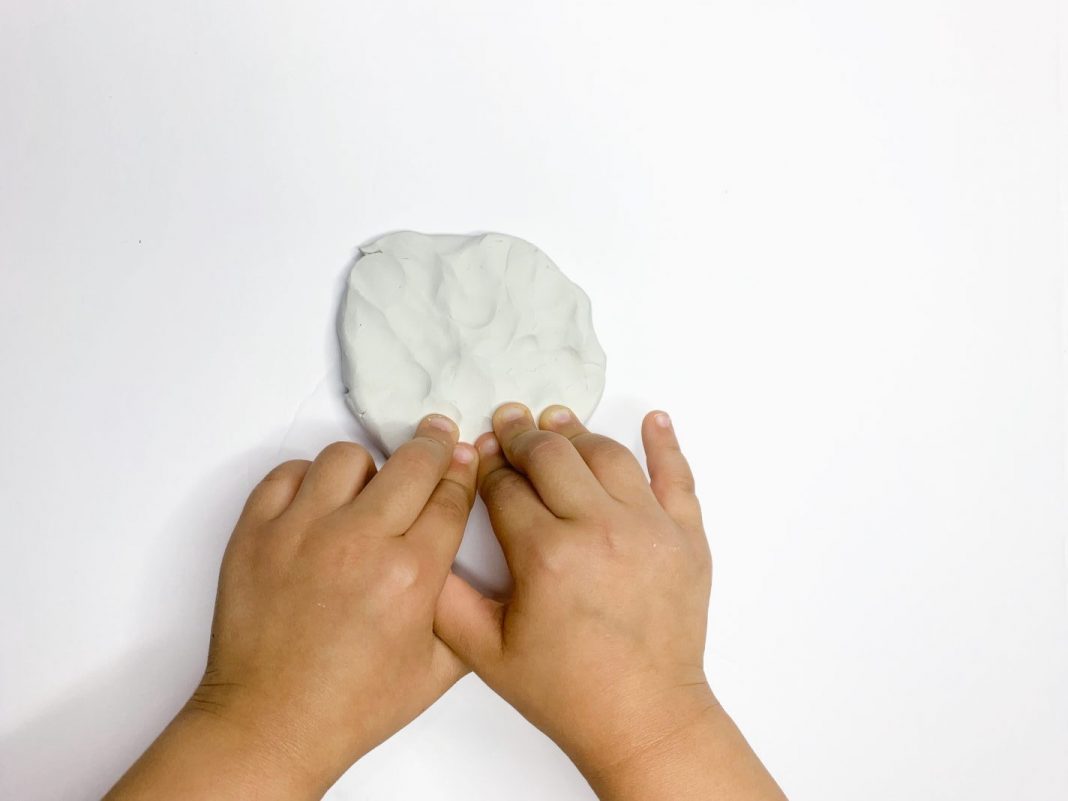
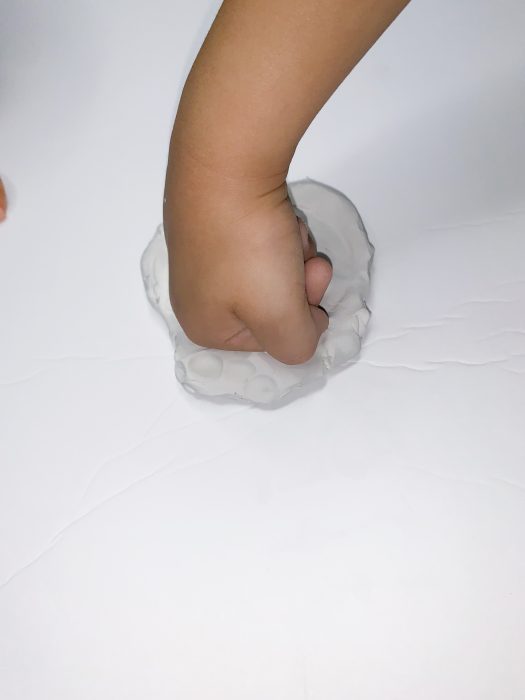
Take the first 5 minutes or so warming up the clay in your hands so it is easier to work with. My daughter kneaded it in her palms as well as on the foam board. Once it became flexible, she flattened the clay to about ¼ inch and I helped her mold the clay around her palm to make a pot structure and we kept molding til it was perfect! We created 3 different sizes and shapes. To add texture, I had her crumble a piece of foil and dab all around the sides. One I will use for a succulent (one of my favorite plants because it’s hard to kill), we decided she will use the flatter one as a tray for her jewelry, and the other she will store a few Barbie food items that she chose to craft with the remaining clay.
Line a baking sheet with parchment paper or some good old-fashioned foil and place your creations on top and in the oven for about 15 minutes. For thicker pieces, you may have to leave them in the oven for longer but remember that the thinner you make something the more brittle it will be.
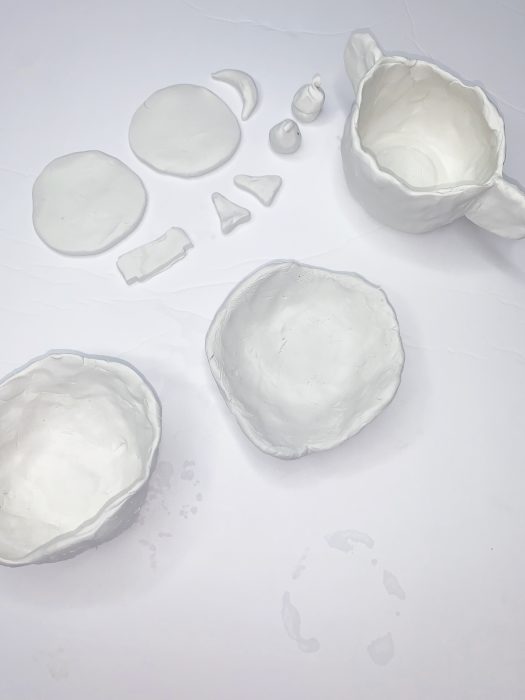
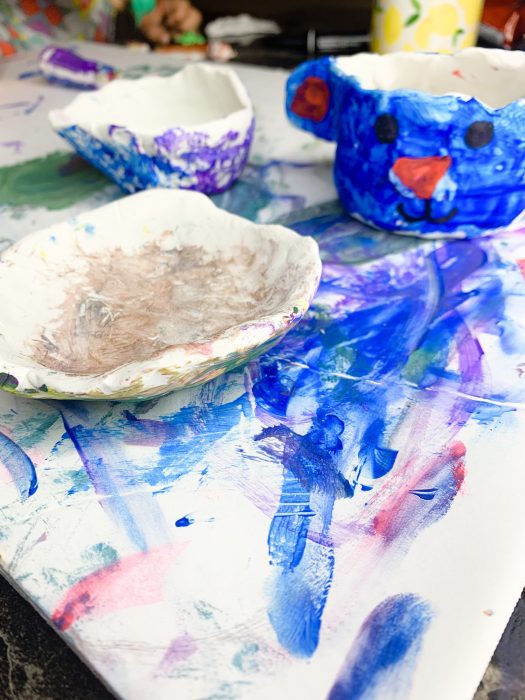
Let your creations cool and paint as you wish! We used acrylic for an opaque base and a better bonding ability to the clay. Here is how ours turned out:
