


Well…I had high hopes for this one. What could be cuter than a precious letter on fabric made out of buttons? Not too many things I tell you. Unfortunately I made a critical error in completing my vision and I’m here to tell you about what I did wrong so that you can do better if you, too, are in the market for button art.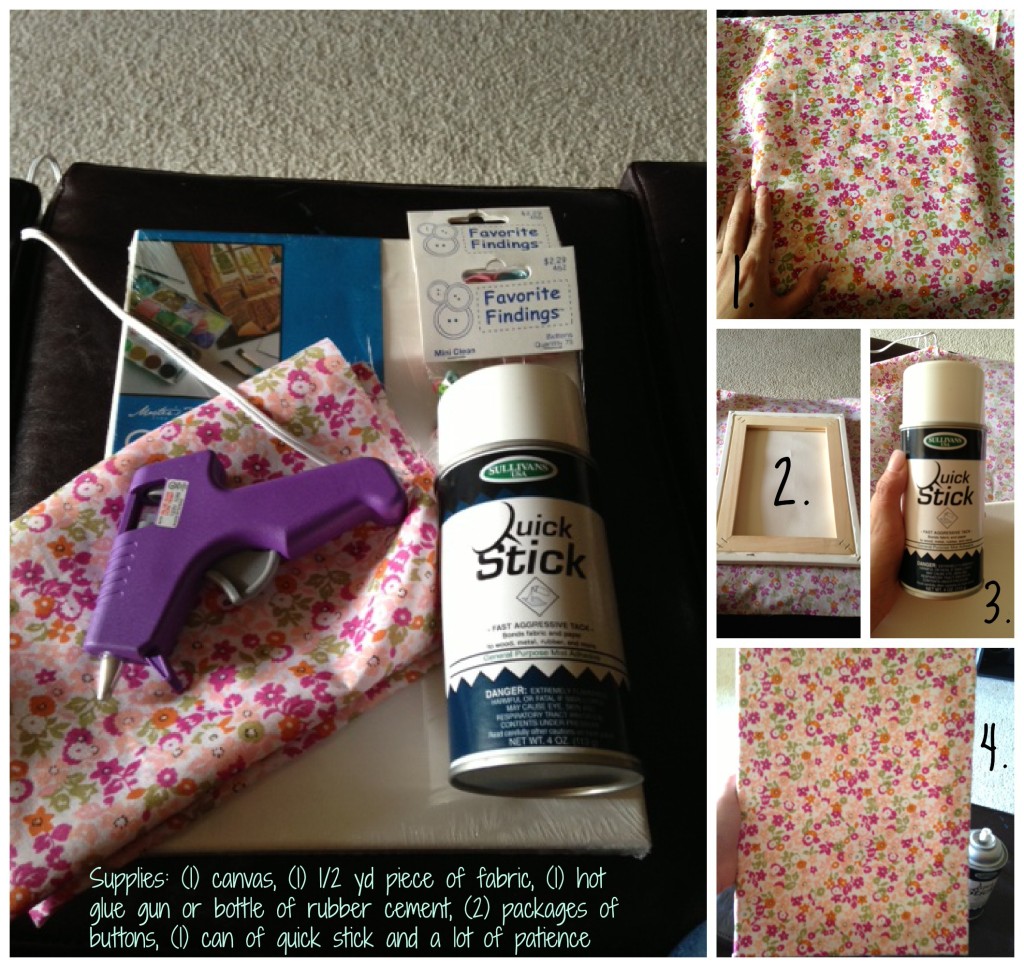
Supplies: Canvas (free because we keep them around), hot glue gun or rubber cement (also free because we do a lot of crafts), fabric ($2.35 at Hancock Fabrics by Lakeline mall), Quick Stick ($5.99 at Hancock Fabrics by Lakeline mall), (2) packages of buttons ($2.99 each at Hancock Fabrics by Lakeline mall) and a lot of patience. TOTAL: $15.00 (ish)


Step 1: Lay your piece of fabric on top of our canvas. I looked for a non-creased section.
Step 2: Flip your canvas and the fabric over just to make sure everything is straight. (OH YA…you need scissors. Eyeball about 2.5 inches around the canvas and cut off the rest with the scissors).
Step 3: Pick up your canvas (while it’s upside down) spray the fabric like it’s a prom hairstyle and spray the canvas, too. Tip from Hancock Fabric: “Quick Stick can be temporary or permanent. If you spray only one side (in this case canvas or fabric only) the opposite item can be removed easily. When you spray both items, consider it permanent.” Once everything is sprayed, stick it back together, smooth out the fabric on the front and tuck the remaining fabric into the back of the canvas. I used spray here, too.
Step 4: Make sure there aren’t any bubbles on the front and 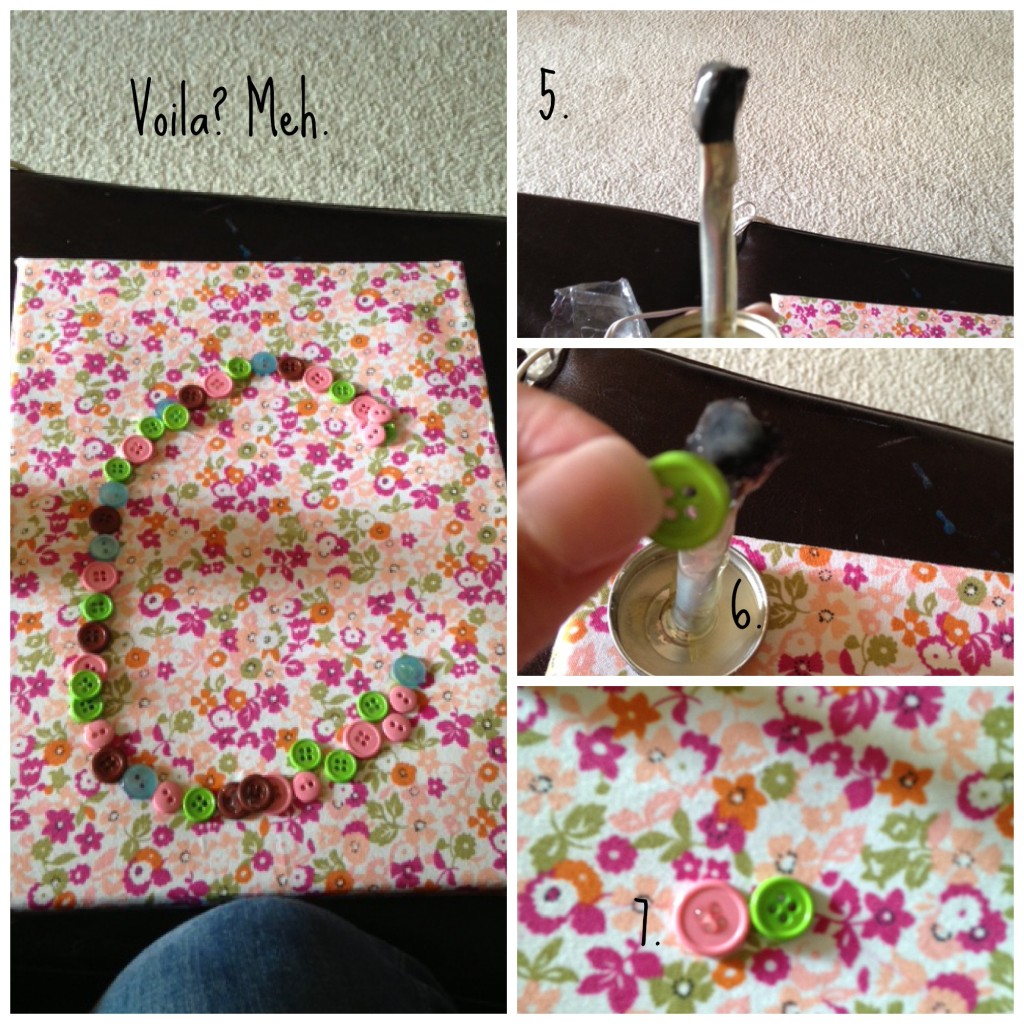 take a look at your beautifully sprayed, fabric wrapped canvas.
Step 4.5: I don’t have any pictures of this step, but take a light colored crayon (as a mommy I’m sure you have a plethora of these laying around the house) and trace out what you want your letter to look like. I went with a “C.”
Step 5: I originally took out a hot glue gun only to realize I didn’t have any hot glue gun sticks (ugh!) so enter the rubber cement. I pulled the rubber cemented applicator and just let the glue/cement dripple all over.
Step 6: (This is where the patience comes in.) Lightly tap each button on the the glue and then place it on the canvas over your lightly traced crayon. You’ll repeat step 6 a BAZILLION times until you have a fully button-covered letter.
You can add more buttons or stack more buttons, but I stopped because I wasn’t happy with the direction mine was headed so I wasn’t going to put myself through more button hell.
I’m probably going to do this again and if I do, I think I’ll stick with a solid color of buttons..probably green on this fabric. I don’t know why I thought multiple would look okay, but I did. Ya know, maybe it could have if I would have picked a lighter/different fabric. Regardless, I’m not thrilled with the outcome or the amount of rubber cement I had to roll off my hands in the name of a monogram.
Have you ever done some button art? Also, why do the Pinteresters of the world make it look SO EASY?!


