
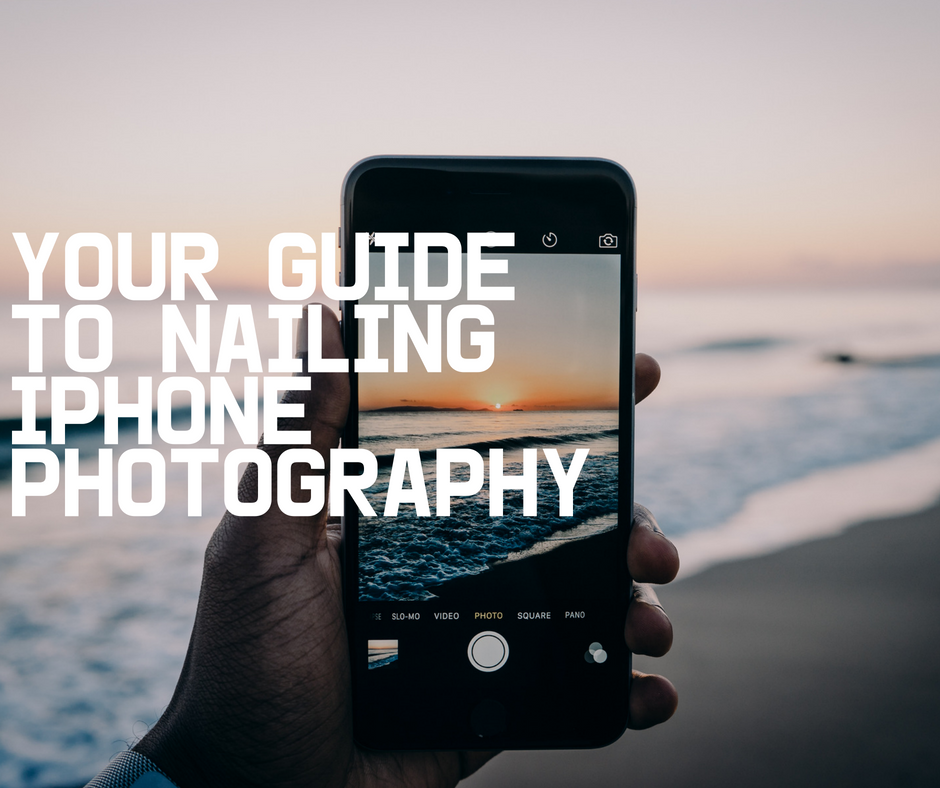


Your Guide To Nailing iPhone Photography, From A Photographer
Before purchasing my first DSLR this winter, I was convinced that the only thing I needed to snap gorgeous photos was my iPhone. After all, portrait mode was the most amazing new invention ever, and combined with a bunch of terrific free editing apps, why would anyone want to spend more to essentially accomplish the same thing? Fast forward to the present, and I’m eating my words. I’m deeply in love with photography and the flexibility that my DSLR provides as I strive to capture that perfect moment. These moments couldn’t have been adequately executed from my iPhone, no matter how much I tried.


With that said, even though I’m now a photographer, I’m also a veteran iPhone photographer and still rely on my phone to snap so many of those fleeting moments, because let’s face it – dragging around a bulky DSLR isn’t conducive to life with littles. Here are my favorite tips for nailing those iPhone photos every time:
Understand your iPhone camera’s limitations. First and foremost, it’s important to understand the limitations of your camera. It’s not going to perform well in low light conditions, for example, so attempting artistic nighttime photography is not as realistic as a beautiful, sunny day. Also realize that zooming in closeon your subject will make the photo appear pretty grainy, so you want to get closer when you’re snapping photos oravoid much of the zoom altogether.
Crop for Composition. Just like with a DSLR, you can crop your photos for optimal composition, so don’t worry if you don’t get it right automatically. The great thing about the iPhone is that you can crop it right then and there, without another program like Lightroom or Photoshop. If you’re looking to learn more about composition in order to take better photos, I highly recommend reading about the rule of thirds. It is very helpful when it comes to creating interesting, well balanced shots. Remember that rules are meant to be broken, though – don’t feel like you have to always strictly adhere to them, but keep them in mind when snapping your photos. The iPhone has grid already on screen when you go to take a picture, so become cognizant of it and use it to your advantage.
Avoid the flash. Just like with built-in flash on a DSLR, iPhone flash will wash out your subject. This goes hand in hand with understanding your phone’s limitations. Many photographers will typically use external flash units in a very strategic manner, but we don’t have that same luxury with an iPhone. Because of this, it’s best to just avoid the flash altogether unless you’re capturing a moment for the sake of memory and not to take an aesthetically pleasing photo.
Clean your lens regularly. This may seem obvious, but how many of us actually clean our phones and camera lenses on a regular basis? This will drastically improve the quality of your photos, so don’t skip this important step!
Utilize Burst Mode. If you’re trying to capture a more fleeting moment, hold down your phone’s shutter so that you’re able to rapidly snap several photos at once instead of banking on the perfect shot the first time. Especially with kids, they move fast! We often don’t have the luxury of recreating that perfect moment.
Change the focus. Did you know that you can touch your iPhone camera’s screen to change the focus? This will ensure that the right object is in focus, like your child’s face instead of her necklace or shirt.
Embrace Portrait Mode. Everyone with the newer iPhones is a huge fan of portrait mode, and for good reason. It gives that gorgeous blur (that we photographers refer to as ‘bokeh’) behind your subject to really step up your photo game. Pop your photos on portrait mode whenever you want that dreamy depth of field.
Consider using lenses. I absolutely love Moment lenses and have found that they really make a huge impact on my shots. Many photographers have stated that they’ve stopped lugging their DSLRs when traveling and exclusively use Moment lenses. I took my set of Moment lenses to LA when I had a trip with my daughter and captured some insanely good photos that didn’t look like they were taken from a phone.
It’s all about the editing. Let’s be honest – there is only so much our phones (and even cameras!) are capable of before we make gorgeous retouches with our editing apps. These days, iPhone editing apps are insanely powerful. Here is a list of some of my favorites that I personally use on a regular basis:
- VSCO
- Snapseed
- Lightroom CC
- Photoshop Fix
- Filterstorm Neue
- Mextures
- Enlight
- AfterFocus
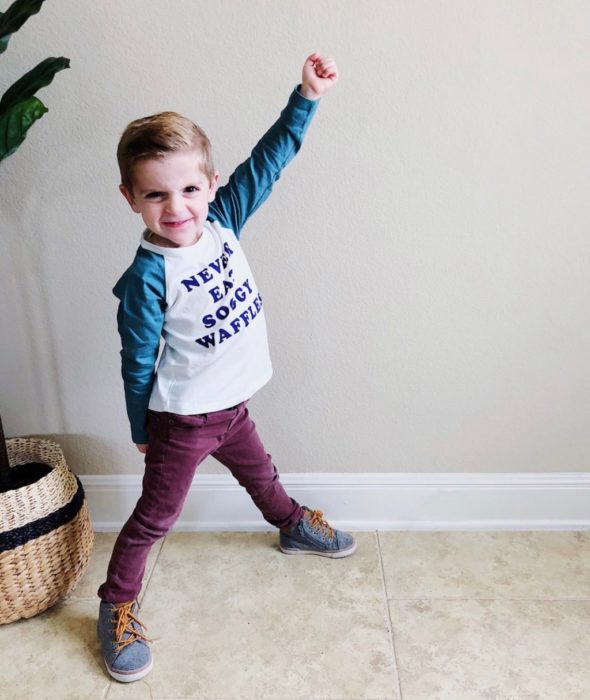
There are many others, but those are just a few of my favorites. See this example below of a before and after that I snapped on my phone and then edited with a couple apps. First, I color corrected for white balance in Lightroom CC. I increased the brightness, saturation, added a little bit of sharpness, then moved the photo over to Photoshop Fix. I then edited out the doorstopper and light switch. The entire process took me about five minutes. Isn’t it crazy what our phones are capable of?

What do you think, Austin mamas? Are you ready to go out there and snap some great iPhone photos?!


